HELLO eVERYONE,,
This is step that i done for diz lesson :)
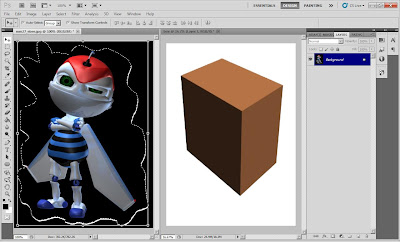
step 1: ive select and choose this two picture from internet and copy it. i use Polyganol lasso tool to cut and drag it to move..
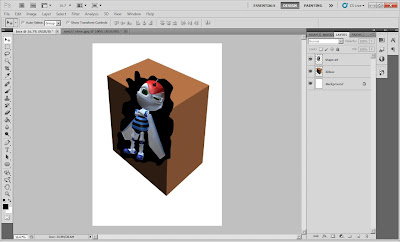
step 2: then i rearrange the picture into the box..
step 3: to set up a vanishing point grid, i press Ctrl + A to select all of the layer's contents...Then press Ctrl+X to cut the contents to the clipboard. now only the box is visible, not the artwork..
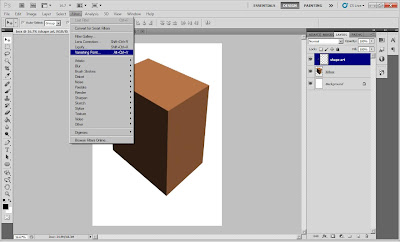
step 4: Choose Filter > Vanishing Point. i use the Vanishing Point filter to draw a
perspective plane that matches the dimensions of the box. With the Create Plane tool ( ), which is
selected by default, click the upper-left corner of the front of the box to begindefining the plane. It’s easiest to defineplanes when you use a rectangular object in the image as a guide
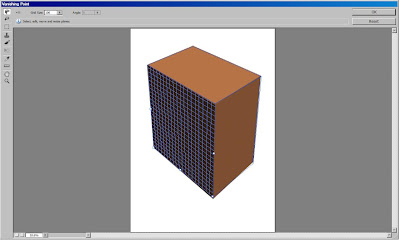
step 5: i Continue drawing the plane by clicking each corner of the box side and i click the
last corner to complete the plane. i adjust the size of this grid at the top of the dialog box using the Edit Plane tool. With the Edit Plane tool selected, i press Ctrl and drag the center point of the left side of the plane, extending the plane alongthe side of the box
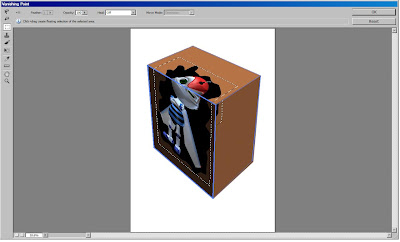
step 6: i press Ctrl+V to paste the contents of the clipboard onto the grid. This actionautomatically selects the Marquee tool in theVanishing Point dialog box. then by using the Marquee tool ( ), i select the contents and drag it to the center of the front perspective plane so that most of the artwork appears on the front panel,but wraps around the side and top. It’s important to place the artwork on the front panel, so that it wraps correctly.
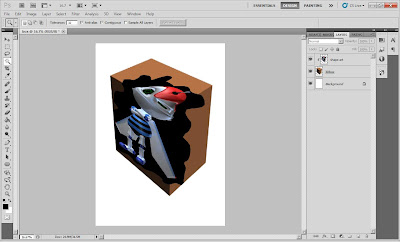
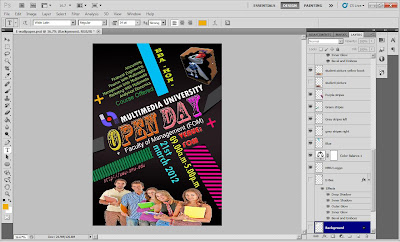 step 11: then i rearrange again and add some effect to make my ewallpaper more interesting..
at last done for photoshop assigment..a very thankfull to Mdm Lydia coz gve me a guidelines and a gud advise in order to make diz assigment more easier and easy 4 me to understand all of the lesson :) at 1 i tot dat its so difficult to do..bt with the guidelines its make me chnge my mind dat nothing is hard and impossible :) so at least with this knowledge i can use it in future :) tq again from me mdm :)


No comments:
Post a Comment